To make the teeth for my monster, I cut out pieces of funky foam and shaped them into triangles. I then sewed them into position inside the mouth. Really pleased with how this looks at the moment.
About Me
- Amy Thomas
- Helllllo there I'm Amy :) I am a graduate with a 2:1 degree in Stop Motion animation. My main specialty is creating characters and environments using fabric such as felt. This blog is just a place for me to share some of my work. I have a long way to go still but, I'm determined to improve my skills and someday make a living out of something I'm passionate about :) I hope you all enjoy viewing my blog and if anyone has any questions, feel free to ask. I don't bite :)
Showing posts with label Wet Felting. Show all posts
9 March 2014
25 February 2014
More puppet building! Little critters coming together :)
Like in my last post, here are a few more pictures of my other of creature to appear in my film.
As before I padded out the body with foam, cut it to shape and then felted it to get...
This!
He looks different to my other creatures due to the fact he has more of a personality and is a bigger contribution to the story.

Here he is in comparison with my other creature puppet. I think they look good together I just hope everything comes together once I start animating which I hope to start as soon as possible!!
24 February 2014
Adding eyes to my mooooonster!!
Back to more posting!
To make the shape for the eyes, I cut out two pieces of yellow felt to the desired shape.
I then stuck them onto the head using contact adhesive.
I then went back around the eyes with felting wool to shape the eyes. By also making the wool outline of the eye thicker, it gives the eye some depth and it looks more three dimensional.
And then we get this :3
I have started to build the rest of the body up gradually.
He's getting there slowly but surely :)
I think he wanted a bit of a rest so I sat him down as well.
Silly thing to mention but oh well :P
16 February 2014
More needle felting of the monster's body :)
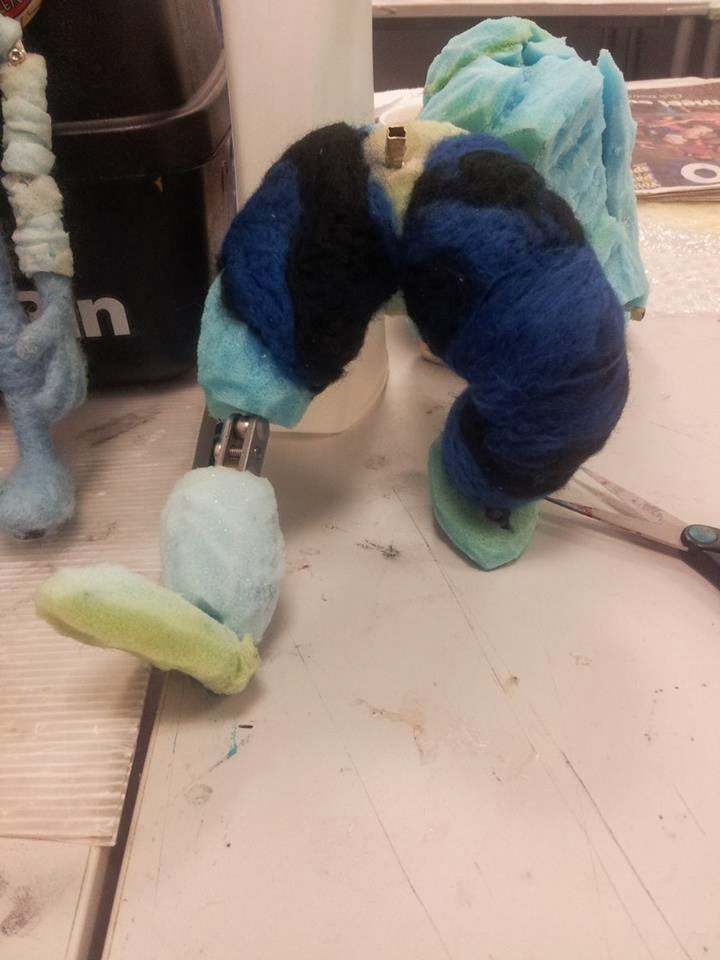
The monster is starting to take more shape now :3 Adding the felt to the legs really does give him a more defined shape :)
The feet still need to be done but I will get to that later :3
I also forgot to mention in the previous post that I have added more foam to the head of the monster. Looks like he has a really funky hair do but he will look so cool when he's all felted up :3
Here's the monster from a different angle. Got two of my stop mo buddies in the back :)
We seem to have a tradition to get in each others photos.
I did link James in a previous post but I'll link him again and also George as well.
Check out their work -
George - http://gacarman.blogspot.co.uk/
Here's another photo with more felt added to the head. It's coming together nicely but I still have so much more to do!
Monster's arms :)
After making wire hands for the monster, I connected them to the arms with K & S tubing. I also padded up the arms with foam ready for needle felting.
I made another sheet of felt to cover the arms and hands. I wanted to mix the colours up a bit so I wet felted some black and blue wool together.
I work my way around the fingers so they are completely covered..
Until I get this! The fingers are still a little chunky but I will refine them soon enough :3
10 February 2014
WET FELTING TUTORIAL!!
Hi again! I promised a step by step guide as to how I have done wet felting in my last post, so here it is! I got the original tutorial from this link here - http://rosiepink.typepad.co.uk/rosiepink/tutorial-wet-felt-making-for-beginners.html
Certain things I have done are slightly different to the above tutorial, but it's the same basic principles.
To start off, I gathered together different colours of felting wool ready for wet felting, a sushi mat, a sheet of bubble wrap (that is slightly bigger than the sushi mat), a sheet of sheer netting, a bar of olive soap and a spray bottle with warm water inside. Also say hello to James :) who is looking very happy in the back there :)
His blog is here - http://jamescarlisle.blogspot.co.uk/
Take a look at his stuff.. It's goooooood!
.jpg)
To start, I placed the sheet of bubble wrap (bubble side up) over the sushi mat and began laying out pieces of wool going from left to right and then right to left going back on itself.
Here is the first layer of the wool laid up. Because I want to try a mixture of colours for this sample, the next layer will be pink.
For the second layer, to ensure the wool's fiber's mesh together when the water is added, the wool is laid out vertically this time going up and down and then down and up while moving along the sheet.
It will look this when the second layer is completed.
The previous steps should be repeated to create four layers of wool. I used purple for the third layer which ran horizontally, and then for the final layer pink which ran vertically.
To start the wet felting technique, I placed the sheer netting over the wool laying on the sushi mat and I then began to spray it with warm water.
The wool must be sprayed thoroughly to ensure the wool is completely damp. You don't need it to be totally saturated but it has to be rather damp for the technique to work! To mesh the wool together, I began rubbing my hand over the wet wool in a circular fashion making sure I covered every inch of the sheet. I did this for a few minutes.
Afterwards, I took a bar of olive soap and rubbed it over the wet wool. I also did this for a few minutes and used my hand again to massage the wool to ensure all the layers merge together.
Once it was all done, I was ready to see whether the technique had worked! I peeled the sheer netting carefully from the wool and removed the sheet of bubble wrap underneath and placed the wet sheet on top of the sushi mat.
To mesh the fibers of the wool together even more, I rolled up the sushi mat tightly and began rolling it back and for on the table vigorously for a couple of minutes.
Then to remove all excess moisture from the wool, I drained it by squeezing the sushi mat tightly over a sink until most of the water was gone from the sheet of felt.
Here is the felted sheet once finished. It is slightly patchy in places but this was due to me not adding enough water at the start. This is something I will improve on next time!
Even though this sample didn't get used, it is always good to let the felt sheet dry out so I hung it up the wall to do that ;P
And that's pretty much wet felting! I know I could have done it ten times better but what can you do? I hope that with more practice, I will improve my wet felting skills :)
If anyone has any further questions about this, leave a comment :)
Subscribe to:
Posts (Atom)